![]()
Donec efficitur, ligula ut lacinia
viverra, lorem lacus.
![]()
Donec efficitur, ligula ut lacinia
viverra, lorem lacus.

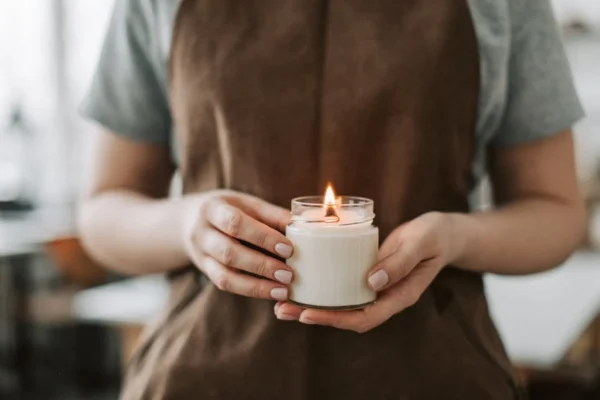
Crafting candles is a delightful and rewarding process that involves several essential steps: melting wax, infusing it with enticing fragrances and vibrant colors, preparing containers, pouring the molten mixture, and allowing the candles to cool and cure into beautiful, functional pieces.
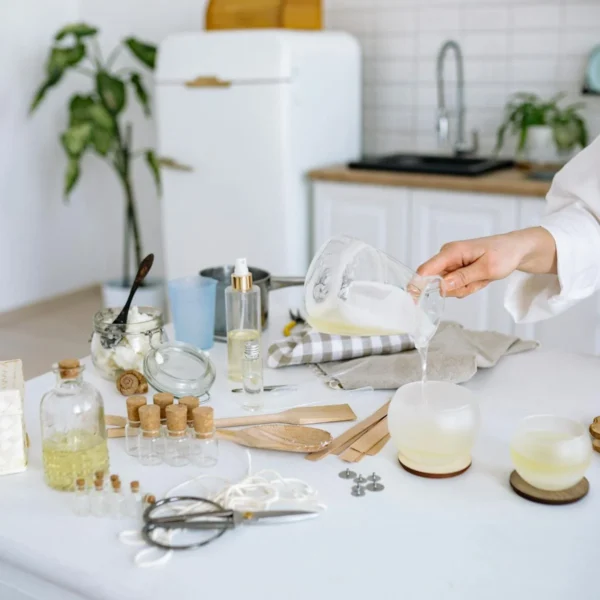
1. Gather Supplies and Prepare
– Tools: Equip yourself with a double boiler for seamless melting, a thermometer to monitor temperatures, a stirring utensil for mixing, and wick stickers to secure the wicks.
– Dyes: If you wish to add a pop of color, choose from various candle dyes that will bring your creations to life, adding a visual appeal that complements the fragrance.
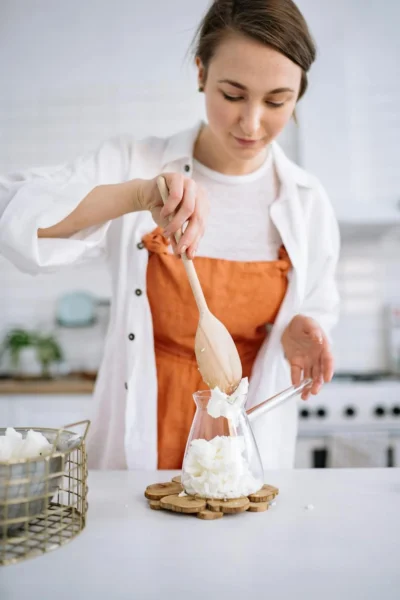
2. Melt the Wax
Carefully place the wax into a double boiler or a heat-resistant bowl set over a pot of gently simmering water.
– As the wax slowly melts, monitor the temperature closely with a thermometer, aiming for approximately 185°F for optimum results.
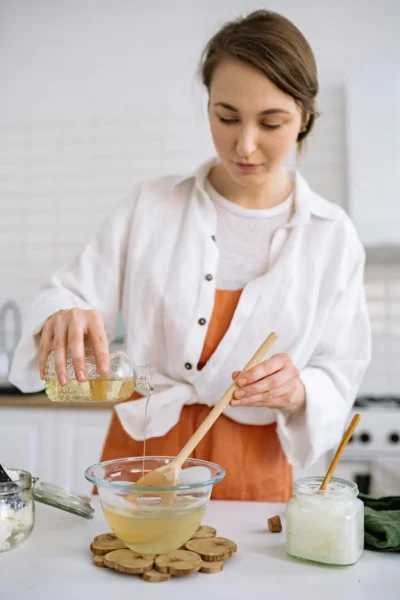
3. Add Fragrance and Dye
– Once the wax has transformed into a liquid state, skillfully remove it from the heat.
– Gently incorporate your chosen fragrance oil and dye (if using), stirring thoroughly to ensure the aroma and color are evenly distributed throughout the wax.
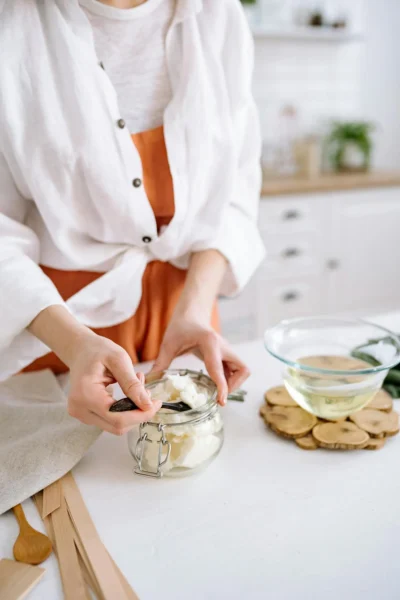
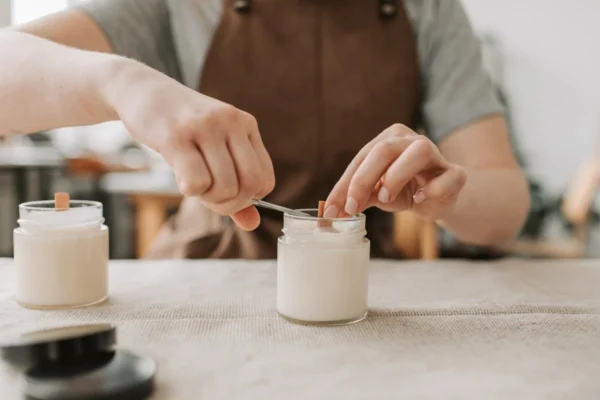
4. Prepare Containers and Place Wicks –
Take a moment to clean and dry your candle containers, ensuring they are free from dust and moisture.
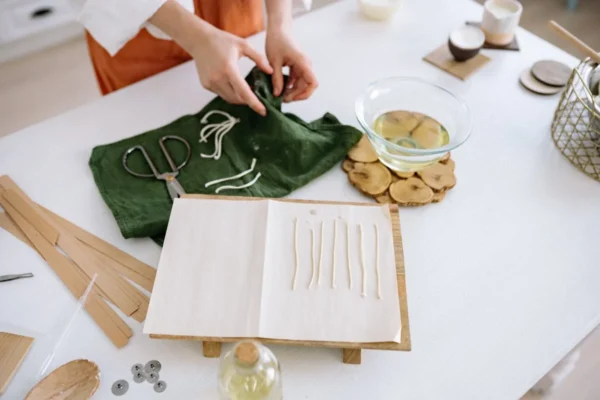
– Use a wick sticker or a dab of hot glue to firmly position the wick in the center of each container.
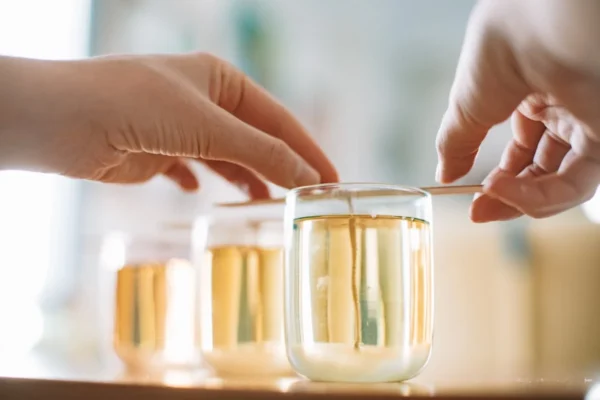
– Stabilize the wick by securing it with a wick bar or another method, ensuring it remains perfectly centered as you pour.
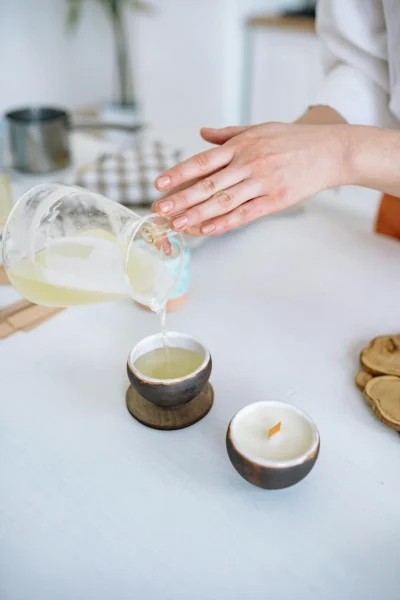
5. Pour the Wax
With great care, pour the melted wax into the prepared containers, filling them to the desired level.
– Aim for a smooth and controlled pour, preventing any spills that could mar the finish of your beautiful containers.
6. Cool and Cure
Allow your candles to cool completely, where they will solidify into their final form. – Once cooled, gently remove the wick bars and trim the wicks to about 1/4 inch, preparing them for a clean and efficient burn. – For the best results, let your candles cure for a few weeks before lighting them; this enhances the fragrance throw when burned. 7. Clean Up – After enjoying the crafting process, take a moment to wipe up any spills and properly dispose of any used materials, leaving your workspace tidy and ready for your next creative endeavor.
Where to Buy:
Tips for Beginners:
Creating a luxury candle:
It involves selecting the right jars that not only enhance the aesthetic appeal but also ensure safety and functionality. Here are some popular options and considerations based on insights from Redditors: